Remote IOT On Raspberry Pi: Setup, VPC & Health Monitoring!
Are you struggling to access and manage your Raspberry Pi remotely? The fusion of Remote IoT, VPC, SSH, and Raspberry Pi provides a robust solution for secure and efficient remote device management. This potent combination allows you to create a fortified virtual environment, shielding your IoT infrastructure from potential vulnerabilities while enabling seamless interaction with your Raspberry Pi from anywhere in the world.
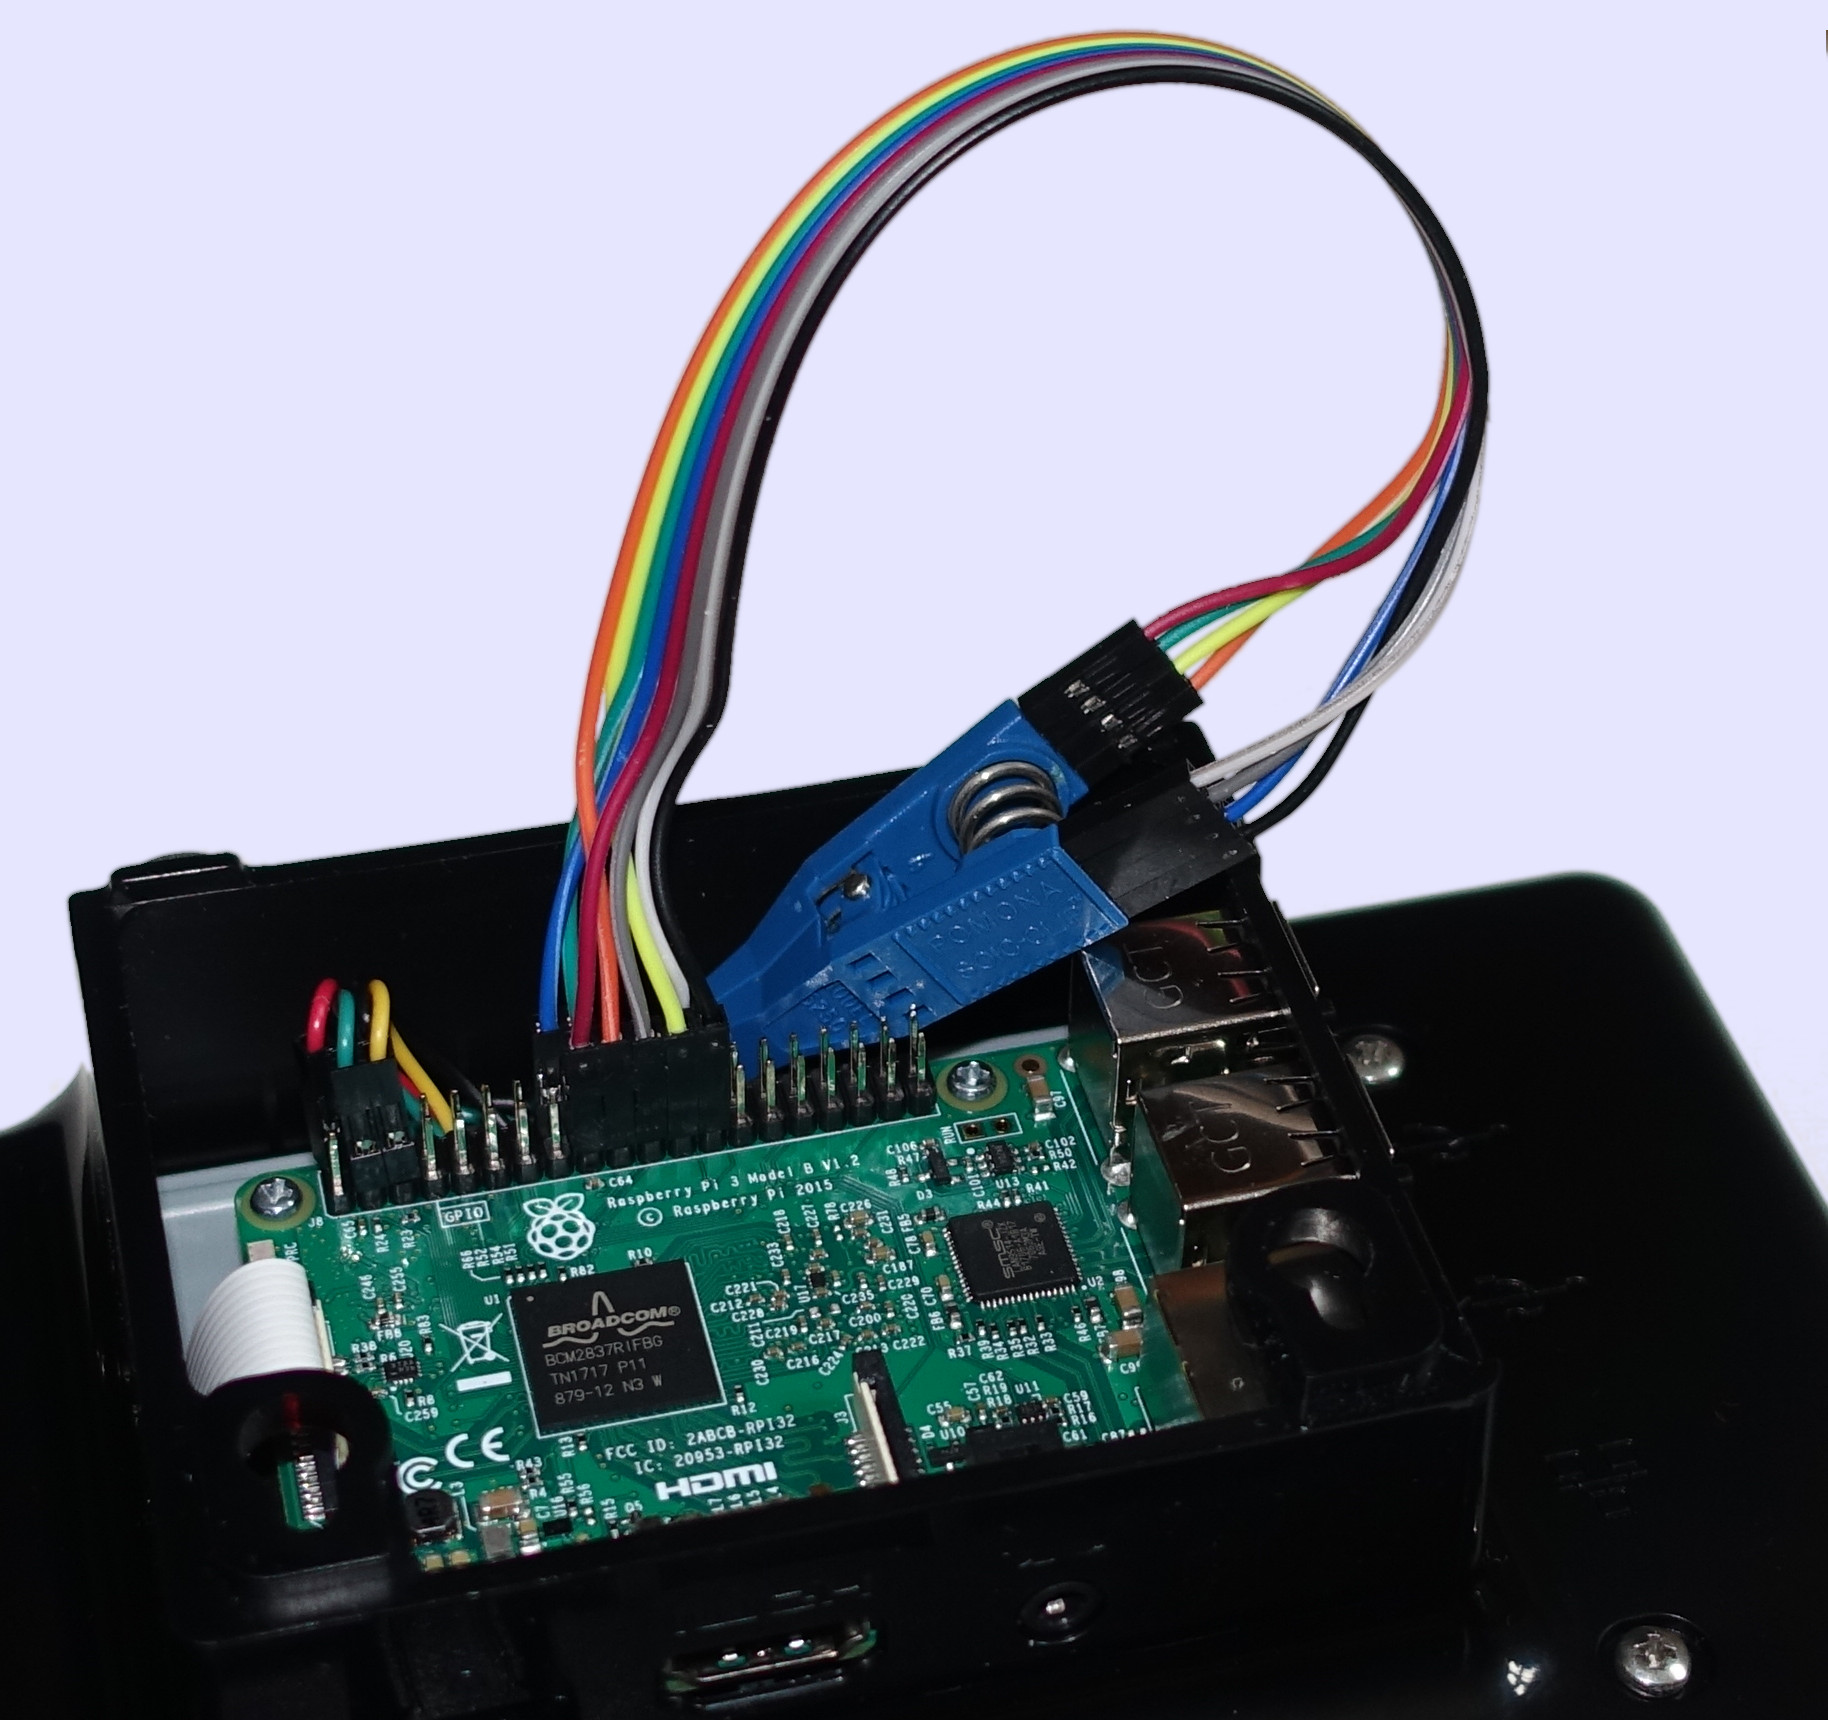
In today's interconnected world, the ability to remotely access and manage devices is increasingly crucial, especially within the realm of the Internet of Things (IoT). A Raspberry Pi, a versatile and affordable single-board computer, often serves as the brain behind various IoT projects. However, securely connecting to and controlling a Raspberry Pi from a remote location can present significant challenges. The integration of Remote IoT, Virtual Private Cloud (VPC), and Secure Shell (SSH) offers a powerful solution, providing a secure and streamlined approach to remote device management.
To better understand the landscape of these technologies and their application, consider the following table, providing key comparative insights into Remote IoT, VPC, and SSH:
| Feature | Remote IoT | VPC | SSH |
|---|---|---|---|
| Purpose | Remote device management & monitoring | Isolated network environment in the cloud | Secure remote access to a device |
| Security Focus | Secure communication with IoT devices | Network-level security, isolation, and control | Encrypted connection for secure data transfer |
| Scope | Device-centric | Network-centric | Connection-centric |
| Key Benefit | Simplified remote access and control | Enhanced security and isolation | Secure command-line access and file transfer |
| Use Case | Managing sensors and actuators in a smart home | Hosting IoT applications in a secure environment | Remotely configuring and troubleshooting a Raspberry Pi |
| Complexity | Can vary, with some platforms offering low-code solutions | Requires understanding of networking and cloud infrastructure | Relatively straightforward to set up and use |
| Scalability | Designed for scaling IoT deployments | Highly scalable, adapting to changing network needs | Scalability depends on the underlying infrastructure |
| Cost | Subscription-based or usage-based pricing | Depends on cloud provider and resources used | Often included in operating systems and is generally low cost |
| Example Technologies/Platforms | Remote.it, Dataplicity, Resin.io | Amazon VPC, Azure Virtual Network, Google Cloud VPC | OpenSSH, PuTTY |
The marriage of Remote IoT with a Virtual Private Cloud (VPC) and Secure Shell (SSH) represents a strategic approach to fortifying your IoT ecosystem. The allure of this combination lies in its ability to establish a virtual private network, thereby introducing an additional layer of security and isolation to your IoT infrastructure.
Remote IoT platforms simplify the process of securely connecting to and managing your Raspberry Pi from anywhere with an internet connection. These platforms provide tools for device registration, authentication, and secure data transmission. By using Remote IoT, you can avoid the complexities of setting up port forwarding, dynamic DNS, and other network configurations that are typically required for remote access.
A Virtual Private Cloud (VPC) provides a logically isolated section of a public cloud, allowing you to create a private network environment for your Raspberry Pi and other IoT devices. By deploying your Raspberry Pi within a VPC, you can control network access, configure security groups, and implement other security measures to protect your devices from unauthorized access and potential threats.
Secure Shell (SSH) is a cryptographic network protocol that enables secure remote access to a computer. By integrating SSH within a VPC, you can ensure that all communication with your Raspberry Pi is encrypted and authenticated, preventing eavesdropping and unauthorized access. SSH also allows you to securely transfer files and execute commands on your Raspberry Pi from a remote location.
To begin, you'll need to select a Remote IoT platform that suits your needs. Popular options include Remote.it, Dataplicity, and Resin.io. These platforms typically offer a free tier for personal use, with paid plans for commercial applications. Once you've chosen a platform, follow the instructions to install the Remote IoT client on your Raspberry Pi. This usually involves downloading and running a script that configures the device to connect to the Remote IoT service.
After installing the Remote IoT client, you'll need to create an account on the Remote IoT platform and register your Raspberry Pi. This process usually involves providing a unique name and description for your device. Once registered, your Raspberry Pi will appear in the Remote IoT dashboard, allowing you to remotely access and manage it.
Next, you'll need to set up a Virtual Private Cloud (VPC) in your cloud provider of choice. Popular options include Amazon VPC, Azure Virtual Network, and Google Cloud VPC. Each cloud provider offers its own set of tools and services for creating and managing VPCs. Follow the instructions provided by your cloud provider to create a VPC and configure it to meet your security and networking requirements.
Once you've created a VPC, you'll need to launch a virtual machine (VM) within the VPC. This VM will serve as a gateway to your Raspberry Pi, allowing you to securely connect to it from the internet. Choose a VM image that includes SSH server software, such as OpenSSH. Configure the VM's security group to allow SSH traffic from your IP address or a trusted network.
After launching the VM, connect to it using SSH. You'll need to provide the VM's public IP address and your SSH key. Once connected, you can use SSH tunneling to forward traffic from the VM to your Raspberry Pi. This creates a secure tunnel that allows you to access your Raspberry Pi's services, such as its web server or SSH server, from the internet.
To set up SSH tunneling, use the following command:
ssh -L [local_port]:[raspberry_pi_ip_address]:[raspberry_pi_port] [vm_username]@[vm_public_ip_address]
Replace [local_port] with the port number on your local machine that you want to use to access the Raspberry Pi. Replace [raspberry_pi_ip_address] with the Raspberry Pi's private IP address within the VPC. Replace [raspberry_pi_port] with the port number of the service you want to access on the Raspberry Pi. Replace [vm_username] with the username you use to connect to the VM. Replace [vm_public_ip_address] with the VM's public IP address.
For example, to access the Raspberry Pi's web server on port 80 from your local machine on port 8080, use the following command:
ssh -L 8080:10.0.0.10:80 ubuntu@192.0.2.1
This command creates an SSH tunnel that forwards traffic from your local machine on port 8080 to the Raspberry Pi's web server on port 80. You can then access the Raspberry Pi's web server by opening a web browser and navigating to http://localhost:8080.
The synergy of Remote IoT, VPC, and SSH offers a comprehensive solution for secure and efficient remote device management. By leveraging these technologies, you can create a fortified virtual environment, shielding your IoT infrastructure from potential vulnerabilities while enabling seamless interaction with your Raspberry Pi from anywhere in the world.
The Internet of Things (IoT) has revolutionized numerous sectors, facilitating seamless communication and data exchange between diverse devices. Within this landscape, the Raspberry Pi, a compact and versatile single-board computer, has emerged as a popular choice for various IoT applications. However, securely connecting and managing Raspberry Pi devices remotely presents unique challenges. Two prominent approaches to address these challenges are IoT Peer-to-Peer (P2P) and IoT Virtual Private Cloud (VPC).
IoT P2P establishes direct communication links between devices without relying on a central server. This approach offers several advantages, including reduced latency, enhanced privacy, and improved resilience. However, IoT P2P also poses security and scalability concerns. Establishing secure connections between devices can be complex, and managing a large number of devices in a P2P network can be challenging.
IoT VPC, on the other hand, creates a virtual private network within a public cloud environment. This approach provides a secure and isolated environment for IoT devices, allowing for centralized management and control. IoT VPC offers enhanced security, scalability, and manageability compared to IoT P2P. However, it also introduces dependencies on cloud infrastructure and may incur higher costs.
Choosing between IoT P2P and IoT VPC depends on the specific requirements of your IoT application. If low latency, enhanced privacy, and resilience are paramount, IoT P2P may be a suitable choice. However, if security, scalability, and manageability are critical, IoT VPC is the preferred option.
To further illustrate the practical application of these technologies, consider a remote healthcare monitoring system. Such a system could leverage an Arduino Nano 33 IoT and a Raspberry Pi, incorporating sensors like the MAX30100 (for heart rate and SpO2), MLX90614 (for temperature), and an ECG sensor (for electrocardiogram). The Remote IoT client would be installed on the Raspberry Pi, acting as a secure tunnel to transmit sensor data to a central dashboard. This allows healthcare professionals to monitor patients' vital signs remotely, enabling timely intervention and improved healthcare outcomes.
After installing the Remote IoT service on your Raspberry Pi, accessing the device information is straightforward. Open the Remote IoT portal and select the specific device you wish to examine. The displayed page will present a comprehensive overview of the device, including essential details such as the hostname, device model, serial number, and operating system. This information provides a quick snapshot of the device's configuration and status.
Furthermore, the Remote IoT portal offers valuable insights into the Raspberry Pi's performance through "usage graphs." Located on the 'usage graphs' tab, these graphs visually represent the system's health status, providing a real-time view of key metrics such as CPU usage, memory consumption, and network traffic. By monitoring these graphs, you can identify potential bottlenecks, troubleshoot performance issues, and ensure the smooth operation of your Raspberry Pi.


Detail Author:
- Name : Lane Kiehn
- Username : eloisa.hill
- Email : qgreenholt@gmail.com
- Birthdate : 1991-10-23
- Address : 77717 Stewart Hills East Hymanburgh, WV 10644
- Phone : +1 (567) 503-4859
- Company : Will PLC
- Job : Stone Cutter
- Bio : Similique aut quis non eligendi. Est odio et qui maiores qui. Quo rerum pariatur quia minus. Ipsa iste fugit consequatur quaerat ut.
Socials
tiktok:
- url : https://tiktok.com/@maci_real
- username : maci_real
- bio : Ut omnis ab et culpa eum est quia sed.
- followers : 2317
- following : 1364
instagram:
- url : https://instagram.com/maciborer
- username : maciborer
- bio : Aut aut enim dolor enim voluptas. Necessitatibus corporis neque vel harum rerum qui quod.
- followers : 2586
- following : 1951
linkedin:
- url : https://linkedin.com/in/borer2020
- username : borer2020
- bio : Facilis consequatur et qui ipsam non.
- followers : 6429
- following : 1201
